DIY Cold Brew Coffee Bags
You should love iced coffee, but you would rather make it easily and less expensive at home, then cold brew coffee bags are the game changers. This simple technique allows you to make coffee that is smooth and has low acid and all you need is the equipment, which is not that complicated.
Due to its smooth taste and invigorating taste, cold brew has gained popularity. Cold brewing, as opposed to traditional hot brewing, relies on time to extract flavor, making the drink less bitter and smooth. And using home made coffee bags, it is even simpler.
Here you will be shown how to make DIY cold brew coffee bags, why they are effective, and tips on how to make them taste their best each time.
What is DIY Cold Brew Coffee Bags?
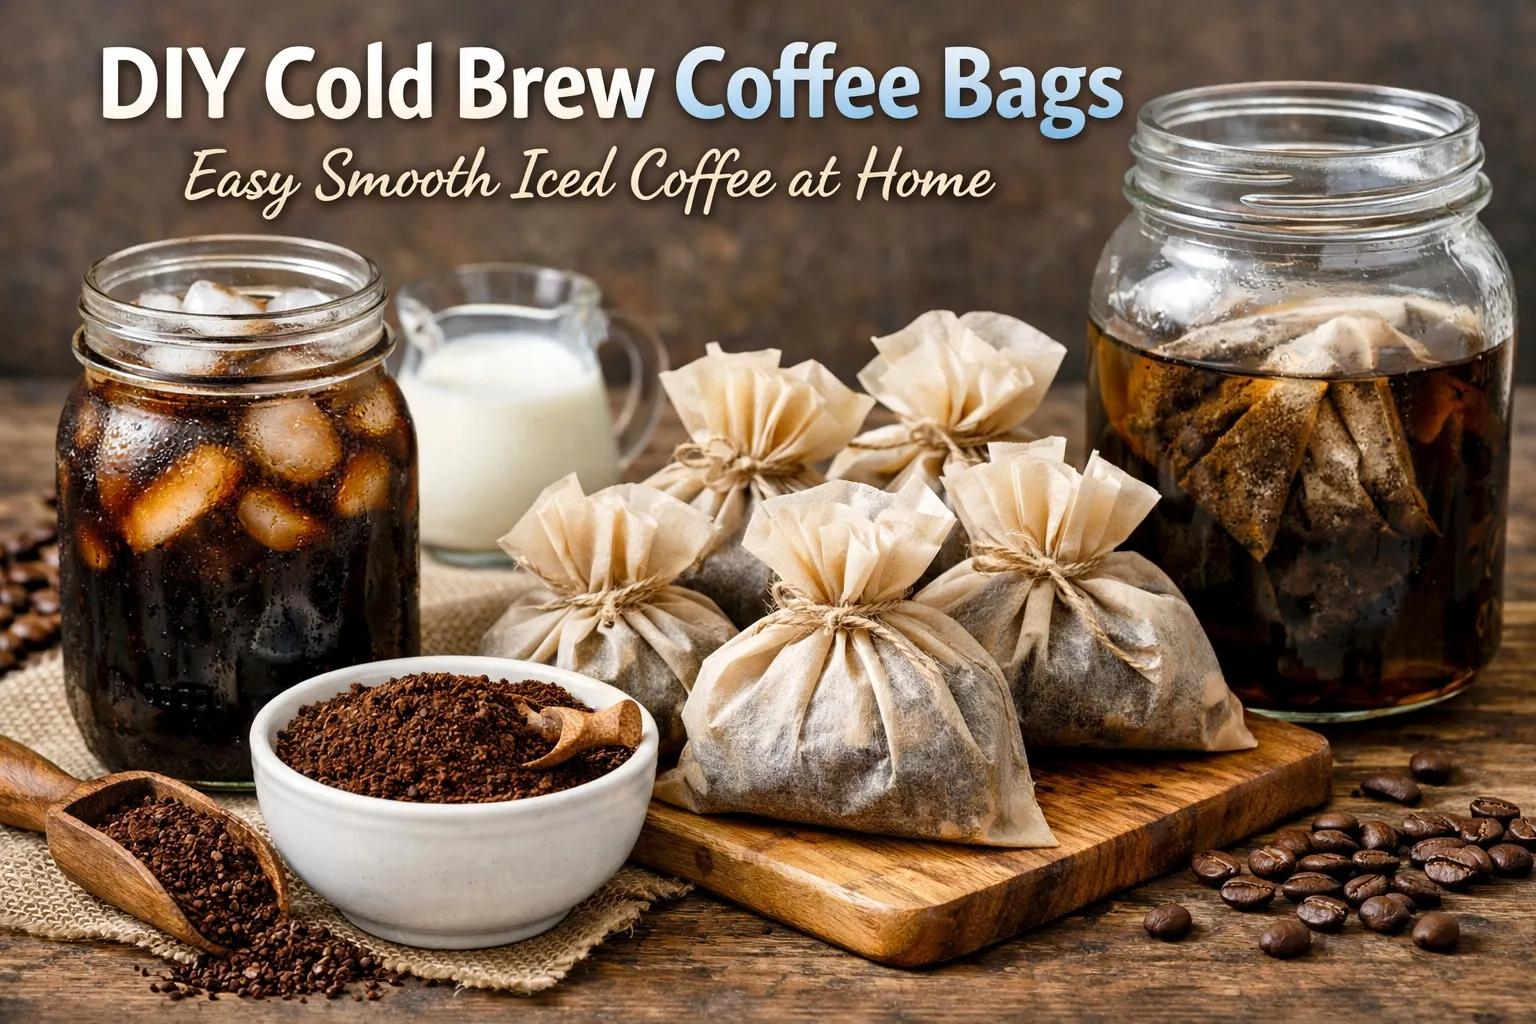
DIY cold brew coffee bags are simply tea bags, but with coffee grounds instead. They enable you to steep coffee in water without the hassle of filtering it after.
Rather than bending loose grounds, the coffee is held within a filter or bag, which makes cleaning it fast and easy. This technique is particularly handy when in a hurry in the morning or weekly batch brewing.
Why Choose Cold Brew Coffee?
Cold brew is not only a trend, but has actual advantages:
· Tastes smoother: Not as acidic and bitter as hot coffee.
· Ease: Brew beforehand or at night.
· Flexibility: Have it black, with milk, or ice.
· Batch-friendly: Make multiple servings at once
Cold water is less effective at extracting acidic substances, so the end product is more naturally sweet and less adverse to the stomach.
Ingredients and Tools You will require.
Among the finest aspects of this approach is that it is easy. Probably you have all of it at home:
Ingredients:
· Coarsely ground coffee (about 2 tablespoons per serving)
· Water
Tools:
· Paper coffee filters (unbleached preferable)
· String or rubber bands.
· Mason jars or containers
· A bowl for mixing
How to make DIY cold brew coffee bags step-by-step.
1. Weigh Your Coffee Grounds.
Begin with an approximate amount of 2 tablespoons of coffee grounds per serving. Customize to your liking of the strength of your coffee.
2. Bloom the Coffee
Add a little water to the grounds and blend. This action aids in the blooming of the coffee- to start the process of extracting flavor and the even spreading of it.
This is an important step. When the grounds remain dry in the bag, then your coffee will either be weak or irregularly brewed.
3. Assemble the Coffee Bags
Add the moist coffee beans to a paper filter. Take the edges and attach them together with a rubber band or a string. It ought to look like a mini-pouch or tea bag.
4. Add to Water
Put each bag of coffee in a jar and add approximately 12 ounces of water per serving.
5. Brew in the Fridge.
Allow the coffee to brew in the refrigerator (24-48 hours). Some techniques recommend 12-24 hours, but a more extended brewing time yields a richer flavor.
6. Remove and Serve
Take away the coffee bags and squeeze them to squeeze out the liquid. Ice and add milk, cream or sweeteners.
Tips for the Best Cold Brew
Use Coarse Grounds
Cold brewing is best done with coarse coffee ground. They enable easier extraction and avoid over-bitter flavors.
Don’t Skip Blooming
Wetting the grounds prior to the brewing process will make all the coffee saturate. Otherwise, without this step, some grounds can remain dry--even after several hours of brewing.
Avoid Over-Steeping
The bags being left too long may weaken the filter and break apart. Optimal results are achieved by removing bags 1-2 days after.
Make a Weekly Batch
Cold brew is refrigerated and thus can be stored in the fridge and you can make many jars and have the coffee throughout the week.
The reason is that they are prone to making common mistakes.
Although this is the easiest way, there are some errors that can impact your outcome:
· With dry grounds alone: Results in asymmetrical extraction.
· Grinding excessive: May cause coffee to be bitter or muddy.
· Weak sealing: Bags can be opened and spill grounds.
· Overfilling bags: Blocks the water flow.
Loosely packed bags make the water move in a better way and enhances flavor extraction.
Homemade vs Commercial Cold Brew Bags.
Ready-made cold brew bags are available, although there are some benefits to making your own:
DIY Cold Brew Bags:
· Cheaper
· Customizable strength
· Environmentally friendly (particularly compostable filters)
Store-Bought Bags:
· Convenient
· Pre-measured
· Frequently prepared using special blends.
Both are good, however; DIY is ideal when you desire control and cost-saving.
Tasting Differences to Test.
When you get the fundamentals, try some flavors:
· Warm with cinnamon or vanilla.
· Eat flavored beans (hazelnut, caramel).
· Blend with milk substitutes such as oat or almond.
· Sweeten up with maple syrup or honey.
Cold brew is a very versatile drink, and you can be creative.
Why This Approach is so Effective.
Cold brew coffee bags make the whole process easy. The use of filters or fine mesh to strain traditional cold brew can be messy and time-intensive.
You can put the grounds into a filter initially and thereby skip that step altogether. The outcome is a smooth coffee that is clean with minimum effort.
Also, it is easy to scale, either brew one cup or an entire week of coffee at a time.
Conclusion: Is DIY Cold Brew Worth It?
Absolutely. One of the simplest methods of having a taste of the cafe quality of iced coffee at home is to make DIY cold brew coffee bags. They are cheap, flexible and practically no equipment is needed.
You can save money, make your life easier, or simply have a better cup of coffee; this is a method that should be added into your daily routine.
It is so good that once you taste it you may never revert to the old fashioned brewing, particularly in hot seasons.
Related Articles

2030 PCR Mandate: Why Your Brand’s Supply Chain Integrity Must Be Audit-Proof by August 12

The 1% Risk: Is Your Degassing Valve a Compliance Time Bomb?

Raúl Rodas (2012 World Barista Champion)—When Specialty Coffee Began Listening to Origin